
We started by measuring off everything in order to build it with the least alterations to our currently installed sprinkler system and patio. We only ended up having to plug one sprinkler head, which was extremely nice (we didn't have to dig anything up!). We decided to make all of our measurements come to an even number to eliminate the waste of having to cut the boards shorter, etc. Our deck area extension measures 14 feet long by 16 feet deep and the finished pergola is 10 feet tall. We purchased pressure treated, weather treated lumber for the deck, the frame and the pergola from our local Lowe's and the 12'x6"x6" treated posts from our other local hardware store, Roofing World. It was quite the load!
So, here is the process start to finish:
 |
| Before |
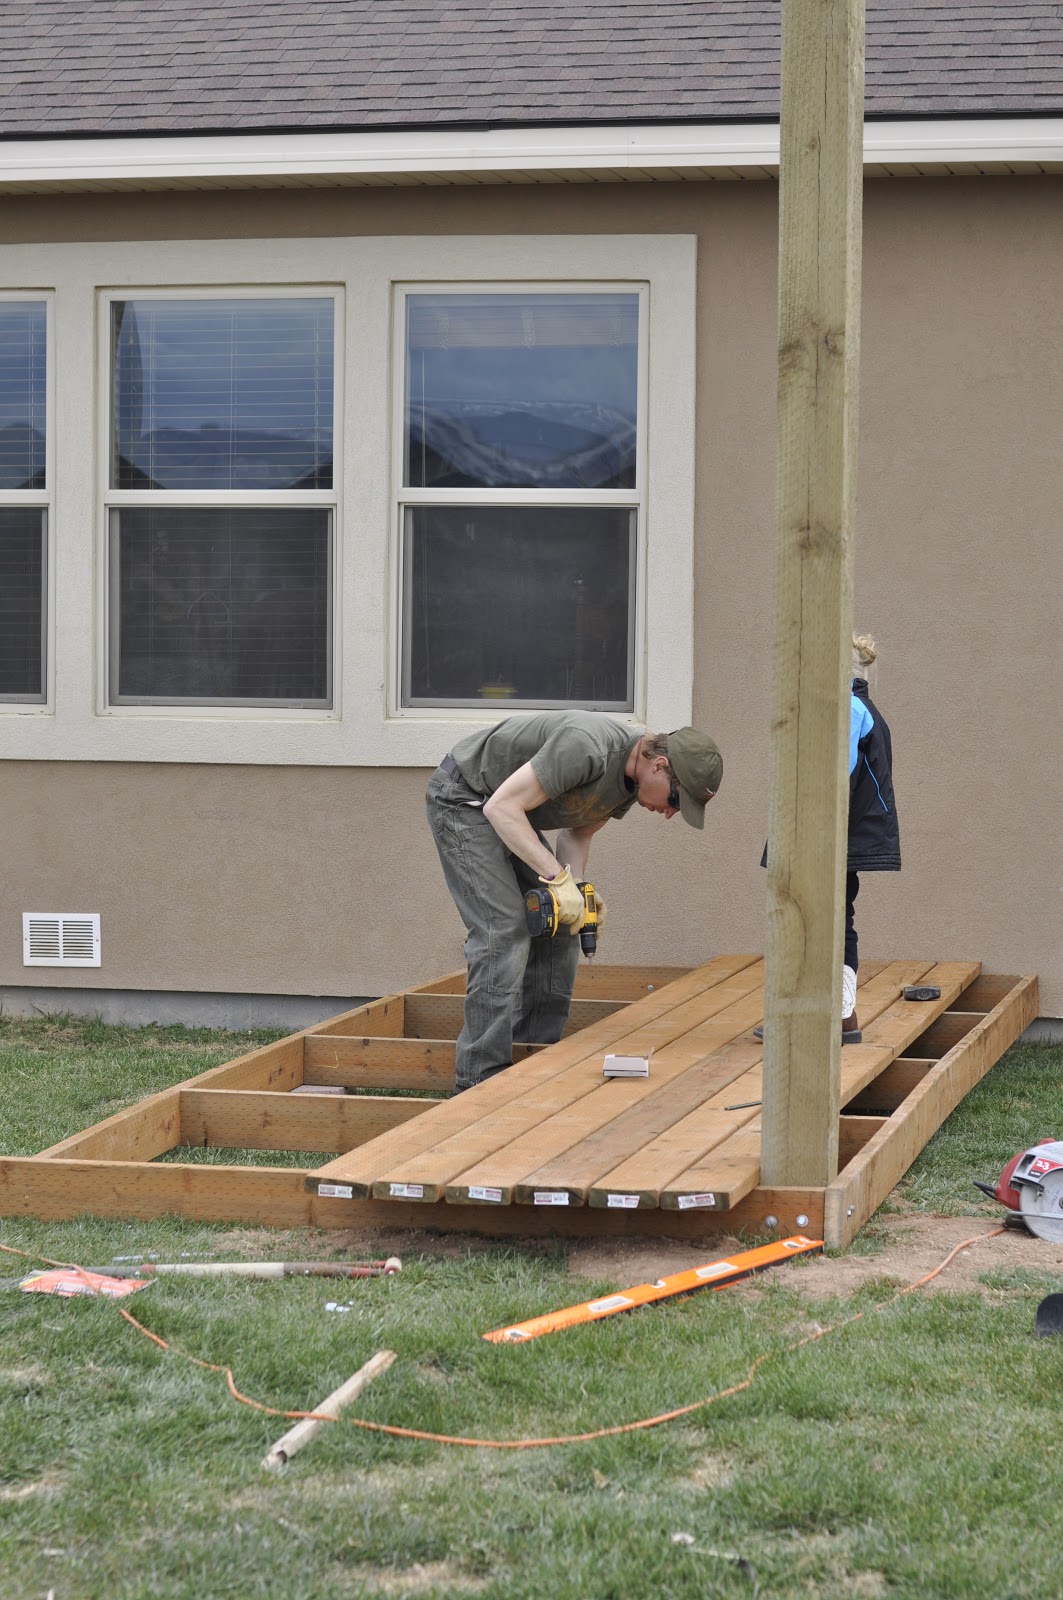 |
| I didn't get a picture of us setting the posts because...well, I was setting the posts :) So, the posts are 12' 6x6" posts. We dug the holes 2 feet deep and set the posts so they would be very sturdy. This left us with the 10' tall pergola (exactly how tall we needed it to fit under the eves of the roof). |
 |
| After setting the posts, we framed in the deck and began working on the decking itself. |

 |
| Finished decking |
 |
| Great little helpers! |
 |
Then it was time to measure and cut the notches out for the cross beams. We
decided to place the pergola slats 18" apart. We measured each slot, drew the lines and then began by
cutting all of the vertical cuts first.
|

 |
| Then, the Babe chiseled out the horizontal lines in each cut to make a perfect rectangle. This may sound tough but really it only took one tap of the hammer and chisel and they popped right out. |

 |
| After cutting the slots out of both cross beams, we bolted one directly to our house and mounted the other on the top of the outer beams. For all of the larger, weight-bearing lumber (such as the deck supports and the upper cross beams) we used 1/2" hex head lag bolts and washers. |


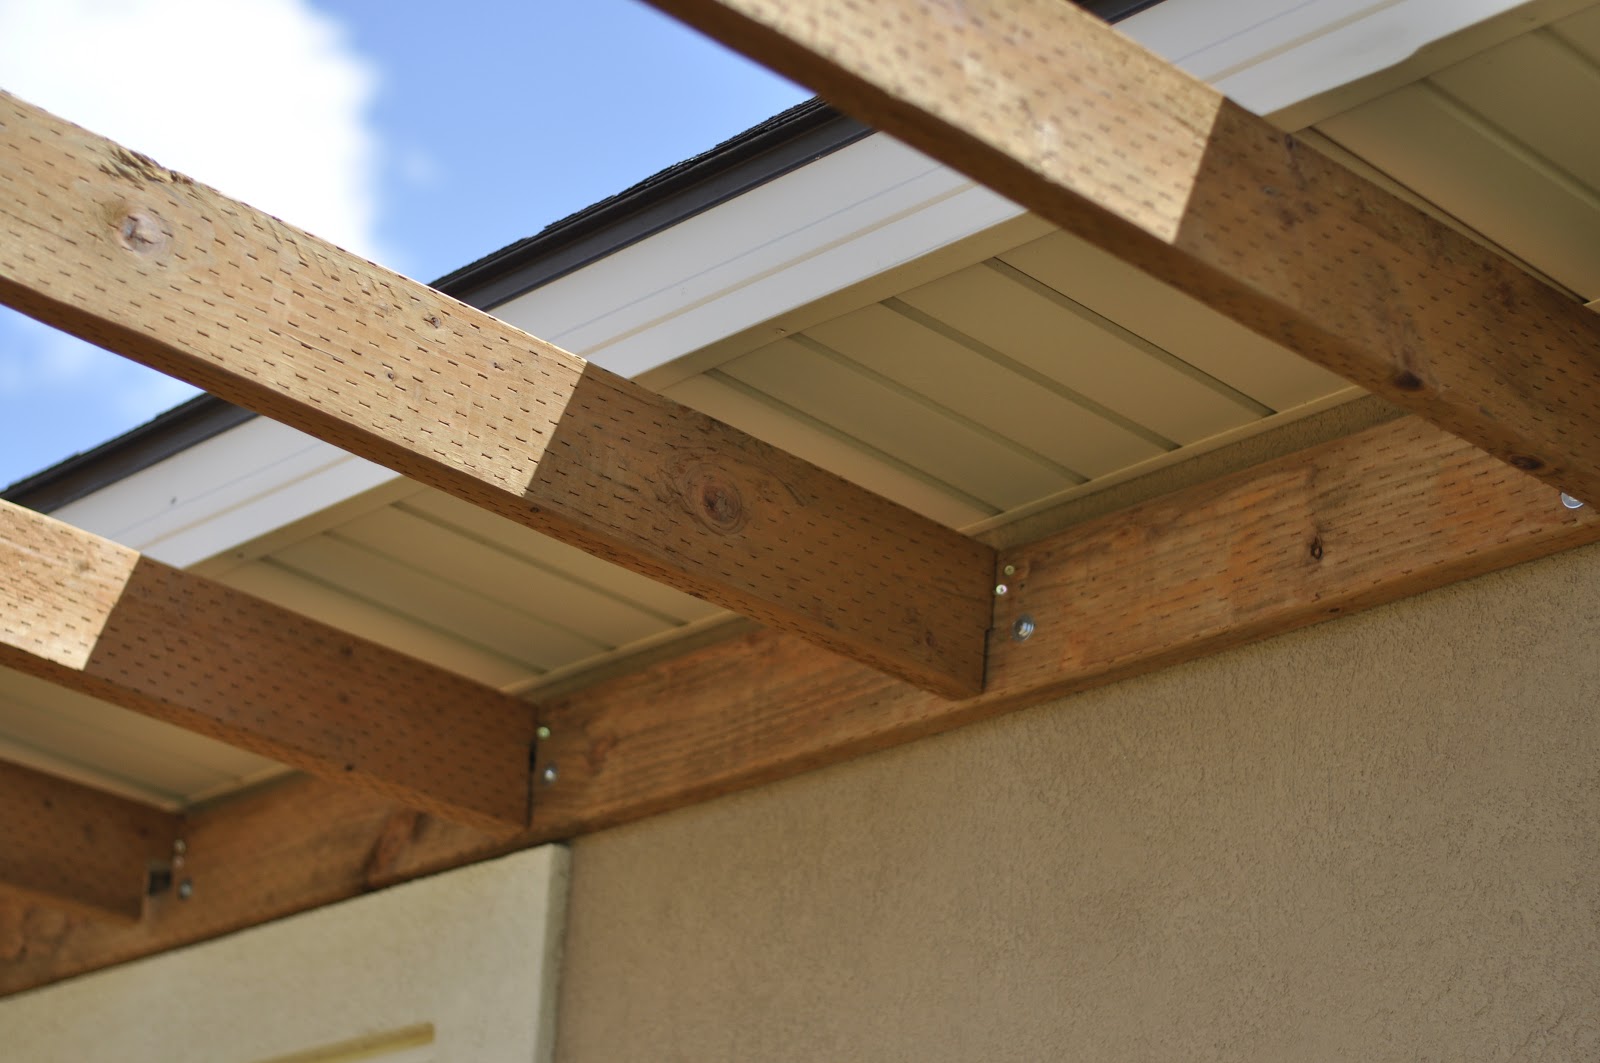 |
| Next, it was time to insert the cross beams of the pergola. This was a little tricky because they each had to line up just perfectly. Good thing my Babe is awesome and cut them just right! We secured each beam by adding two deck screws on each side of the beam at an angle into the support. |
 |
| We cut the nice angle on each one of the boards for that added asthetic touch. |
 |
We went ahead and re-vamped the patio chairs we alread had, too with a new
coat of paint, some pretty new cushions, and a coat of waterseal stain on
the old swing. |
 |
| I should also mention that because of the location of our water faucet on the house and the fact that we already had a soaker hose outlet against the house, we left this section open for some pretty foliage. I love what it adds to the deck area and can't wait for these bushes to be full sized! |

 |
| And HERE is the finished product! We LOVE IT! |


So, what do you think? Do you like the before...

Or, do you like the after?!

Next up...Pergola curtains! I'm going to attempt making them out of canvas drop cloths. We'll see how they turn out!
